The Wild World of Natural Yeast
As the shelter-in-place order came down for the state of California, I rushed to the grocery store in an attempt to procure some yeast so we could keep making our weekly pita bread at home. As in the last few stores I’d been to, the yeast was sold out.
When I mentioned this to a friend living out in rural Georgia, she replied, “Just use wild yeast.”
“Where do I get wild yeast!?” I asked.
“It’s just in the air!” she laughed. I’m learning a lot during this pandemic.
Wild Yeast
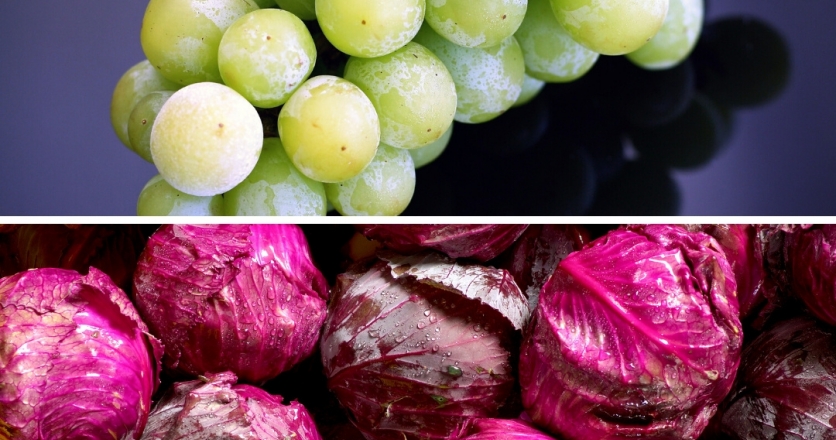
For those who are less familiar with “wild” yeast, as I was, here’s how it works. Yeast exists in abundance in the natural world – spores that are present on plants and animals (including us) but we don’t usually notice it. An easy way to see some indigenous yeast is to look at the bloom on berries or grapes—that white sheen on the grapes is natural yeast!
Yeast is critically important in the process of getting bread to rise, which is where the packets or small jars you can usually find at the store come in handy. The yeast you buy at the store is dried and dormant yeast, requiring water to reactivate the fermentation process. Wild yeast colonies that you use to leaven bread have to ferment.
As breadmaking was gradually outsourced from homesteads during the 1800s, bakeries looked for ways to increase yield while minimizing the time necessary to bake consistent loaves. Adding sugar to spur the fermentation process became a routine shortcut, but in the process our everyday bread became less nutritious. The natural fermentation process breaks down phytic acids in the flour grain, allowing your body to absorb more of the trace minerals in the bread. It’s also easier to digest.
Capture the Yeast & Begin the Fermentation
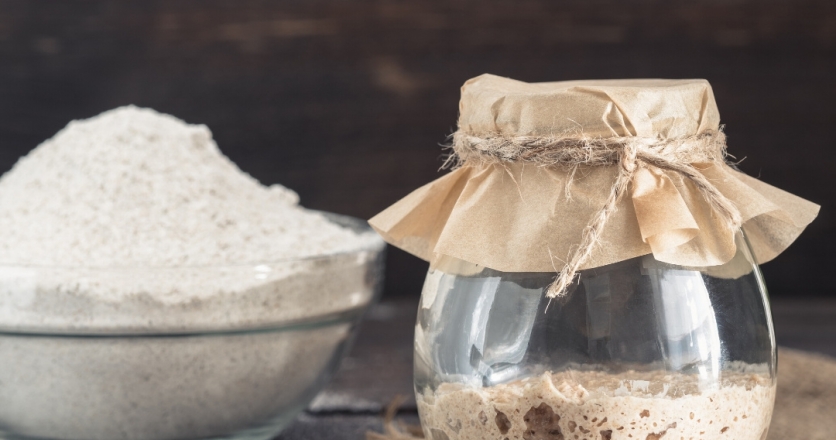
In order to “catch” wild yeast to use for leavening bread, you need to add equal parts flour and water in a jar and cover loosely. My husband insists on weighing all ingredients, so we started with 125g of each. It’s deceptively simple, but here’s a couple important notes to make sure your starter thrives.
First, use unbleached flour. The bleaching process can kill yeast that exists in the flour—in fact, most of the yeast you are going cultivate in your starter comes from the flour itself, and, to a lesser extent, the baker’s hands, rather than the air. The flavor of your bread depends on how the flour you use is grown and milled. Organic is preferable since it allows more of the naturally occurring yeast to remain in the flour, and local is often better if you can find it.
I used a quart mason jar with equal parts unbleached flour and lukewarm water. The fluoride and chlorine in our water will kill some of the yeast, so it’s best to use water that’s been filtered. Stir it up, set it and forget it. Setting it somewhere warm is better, since the heat will encourage the yeast to gobble up the grain sugars, producing CO2 and alcohol, creating a bit of foam or froth.
Waiting
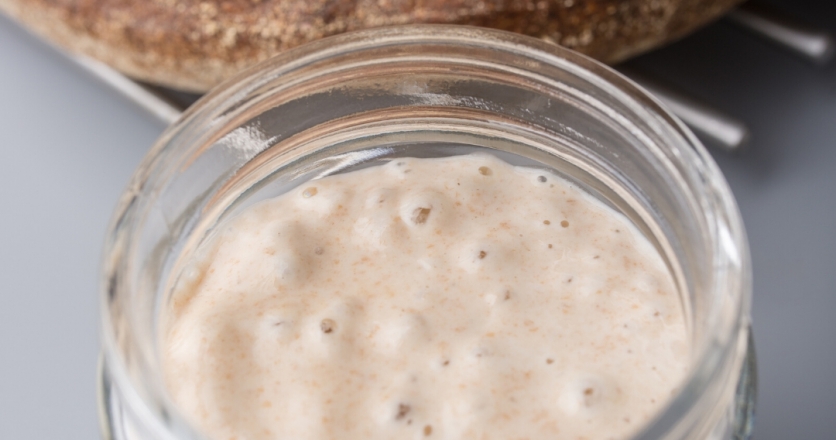
Now you’ll have to wait for 2-3 days. This was particularly difficult for my 10-year-old daughter, Tennyson, who was assisting. You should notice the mixture bubbling and growing noticeably, which means it’s time to feed your new little yeast colony.
I scooped aside the crust that had formed and took roughly 50g of the liquid, adding it to a different jar. In this second jar, I added equal parts flour and warm water, about 100g (this varies drastically depend on who you are looking to for instruction, and depends also on how much the yeast is growing). Tennyson was eager to help until she smelled the jar, at which point she made a face and promptly left the kitchen. The smell is very unique—funky—like spoiled fruit.
Repeat
From here, your yeast is in the thick of fermentation, and on both day 4 and 5 I removed about 50g of the starter (discarding the rest) and repeated the process.
How long to continue this sequence is really the trick to wild yeast starters. The starter needs to ferment long enough for the yeast to get a good foothold, but not so long that the acids from the bacteria working in tandem with the colony causes the mixture to separate and smell like a sour vinegar. (I thought this was a bit counterintuitive because bread made with wild yeast that ferments this way is sourdough bread!)
A friend who once worked in a bakery offered me helpful advice, which was to go by aroma. “It should smell a bit like overripe bananas,” he said, adding that the by-product of the yeast will also make it smell faintly like alcohol. I over-fermented our first attempt at a starter, which we threw out entirely, but on the second time it didn’t separate and we had what we needed.
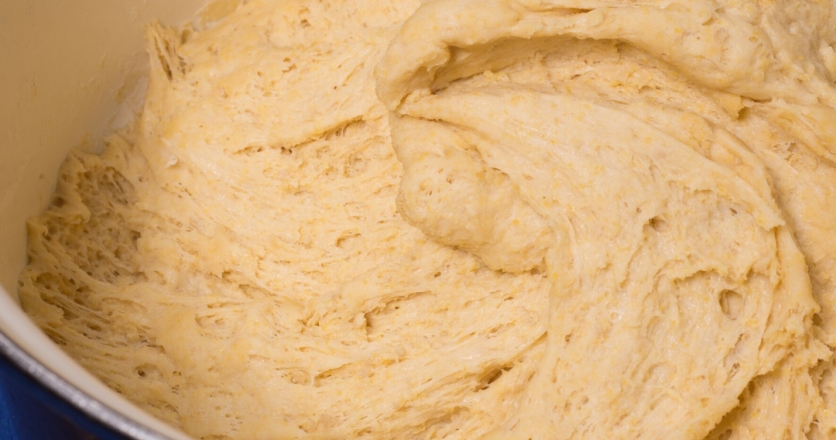
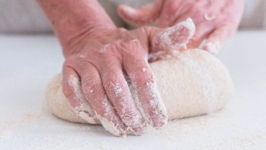
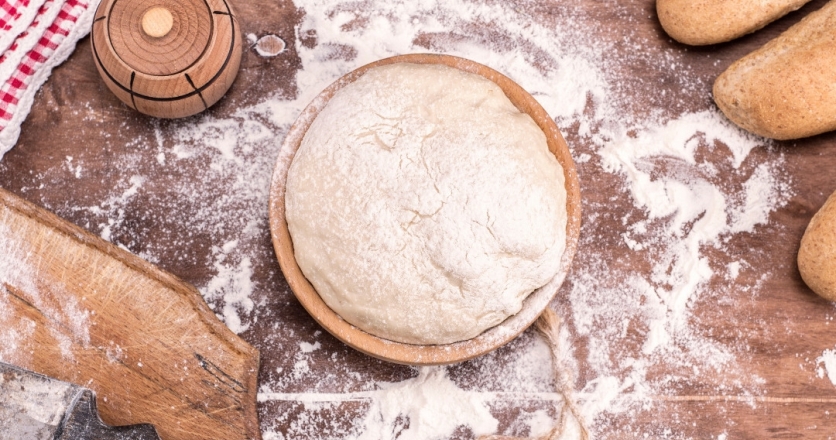
Knead, Rise, Bake!
Once you’ve decided your starter is ready, you can take what you need and combine it with your dough based on any sourdough bread recipe you want to use. At this point, I was back in more familiar territory and began to form the dough, then allowed it to rise. We kneaded it and let it rise or “proof” again. I popped the loaf of bread in the oven after some creative scoring from my daughter, who enjoyed marking our fat round of dough with a couple creative cuts.
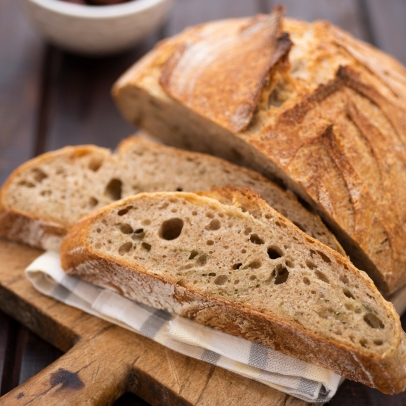
Breadmaking is a skill, but using wild yeast really underscores how much it is an art form. It requires patience and flexibility since wild yeast starters are more unpredictable to work with, but this makes the success much more satisfying when you pull out a finished loaf of bread. My daughter’s eyes were wide in anticipation.
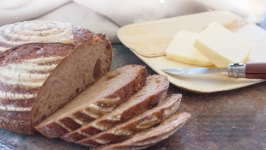
“You finally did something right!” she said, immediately poking the gold crust of the hot loaf. My bread turned out a bit denser and chewier than I was hoping, but I can only imagine this varies based on your technique, your oven, and especially your flour. It was an exciting experiment to try, with delicious results. We enjoyed our bread in chunky quarters with butternut squash soup.
Imperfect Perfection
Like any recipe, I know it will take several attempts to create a reliable method. The advantage once you’ve created your starter is that your yeast is ready to go any time you want to bake. If you keep it at room temperature, you have to feed it every day—which was a little fussy for me. Instead, we’re storing our starter in our fridge, which slows the fermentation so the colony goes dormant. When we’re want to bake, we’ll take the jar and leave it out on the counter overnight so it’s ready by the next morning.
While we’ve perfected our weekly pita recipe, it’s going to take more attempts to get our “wild” bread how I’d like. The beauty of breadmaking is that even imperfect loaves are a mouthwatering treat compared with what you buy at the store. It’s cheap and simple, as long as you remember simple doesn’t necessarily mean easy! Keep trying and no doubt, you’ll come out with a bread that will have your friends and family clamoring for more.