Cultivate a small quantity of starter and build it up on the days when you plan to bake. On bake days the starter should be fed with a freshly milled, whole-grain flour in proportions to suit the number of loaves that will be produced. Fresh whole-grain flour will stimulate the starter into a lively state that will bring the desired results of well-developed crumb structure, a crisp crust and a complex flavor.
Ingredients
- A kitchen scale (not essential but recommended for better accuracy)
- 2 (1-quart) containers with lids
- Mixing spoon
- Dedicated storage spot for the starter and accoutrements
- Organic or heirloom all-purpose flour (try Roan Mills heirloom flour)
- Filtered water
Preparation
Capturing Wild Yeast
DAY ONE
Choose 1-quart container, place it on scale and tare the weight (set it to zero).*
Place 115 grams of flour and 115 grams of filtered water into the container and stir vigorously to combine, cover the container and place it in designated spot in your kitchen or pantry.
*If you don’t have a scale, use about 1 cup flour to ½ cup water. Adjust ratio to get starter the consistency of thick pancake batter.
DAY TWO
Place 115 grams (or just about a cup) of the young starter into clean quart container and add 115 grams of flour and 115 grams filtered water. Stir vigorously to combine, cover and return to its designated spot.
DAY THREE
Repeat day 2 and pay attention to any changes that may begin to develop. A sour smell and a few bubbles are signs that the starter is ripening.
DAY FOUR
Place half of starter into the clean container with 115 grams of flour and 115 grams of filtered water, stir vigorously to combine, cover and return it to its designated spot.
DAY FIVE
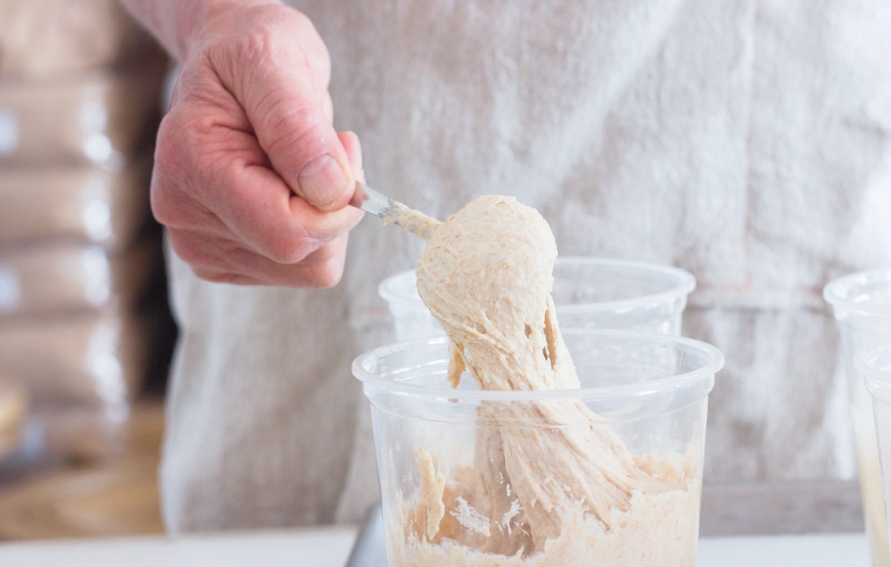
The starter should be ripening nicely by now; notice the changes in texture and smell. It may be very bubbly or even frothy.
To test the ripeness, fill a glass with water and drop a spoonful of starter into the glass. If it floats for a few seconds before sinking then it is ready to use. If it sinks immediately, it needs more time; simply continue the steps above for a few more days.
Maintaining the Starter Between Bakes
Once the starter is ripe it needs to be maintained. Basically, this means that you will discard 80% of it each morning* (or once a week if maintaining in the fridge) and replace that amount with equal parts water and flour.
The routine starts with scooping about a cup of starter into the clean quart container and adding 115 grams each of flour and water. Proceed as before, stirring the starter vigorously, covering and allowing it to rest on the counter. If using the slow maintenance, put starter back in fridge after it starts to grow.
*The discarded starter can be used in pancakes and waffles or composted. It can also be dried and stored in a paper bag. Dried starter can be used to start a new sourdough starter.
Increasing the Starter for Baking
On bake day, start with a room-temperature starter.
Scoop about a cup of starter into a larger clean container and feed with 115 grams your choice of whole-wheat, rye, spelt, einkorn or all-purpose flour and 115 grams of filtered water. The whole-wheat flour will make the starter very lively; it should pass the float test before 6 hours have passed.
After the starter ripens, reserve about ½ cup, feed it the maintenance dose and set aside for another day.
Related Stories & Recipes